How To Give Yourself A Manicure At Home

Plus, with so many bold nail trends taking over TikTok, now is the perfect time to hunker down and brush up on your handy work. While 2023 may have been the year of tortoise shell tips and chrome finishes, 2024 is likely to see a big vibe shift for your manicures.
"Peach Fuzz" was crowned Pantone's colour of the year so you can expect to see the pastel hue making its way into everything, including nail designs. Elsewhere and 2024 is set to be the year where rich, espresso shades and earthy greens reign supreme, while floating linear nail art – think minimal designs of thin stripes paired with neutral colours, will surpass the ‘clean girl’ manicure that infiltrated 2023.
Want in but not sure how to perfect the sometimes-super fiddly endeavour? Then help is at hand, literally. Here’s our expert guide on how to do a manicure at home. Scroll on to get clued up.
Step 1. Preps makes perfect
First things first. Prep is vital for your at home manicure as it help to achieve retention and longevity. “Very gently buff away any shine before wiping with polish remover to ensure the nail is free from any dust or oil,” advises luxury manicurist, Alex Philamond.
Step 2: File, buff and shape
If you’re wondering whether there a technique to filing your nails, especially if you have weak nails, then the answer is yes. “Always use a low-grit or crystal file when shaping your natural nail, working in gentle back-and-forth motions to achieve a symmetrical shape,” says Alex. This will prevent splitting. After a square shape? File straight across before checking the length. For a round shape, turn your file in at an angle.
.Step 3: Cuticle control
Not feeling confident with cuticle clippers? Fear not, reveals Alex. “Oftentimes just gently pushing them back to reveal more nail plate for painting will suffice.” If there are any obvious, stubborn pieces of dead skin you can use a cuticle nipper to nip these away. Dead skin will appear white or clear, and this skin is safe to remove.
Keep a little nail brush to hand to brush away the dust and dead skin as you go. “And always air on the cautious side to avoid nipping living tissue,” adds Alex.
Step 4: Apply your base coat
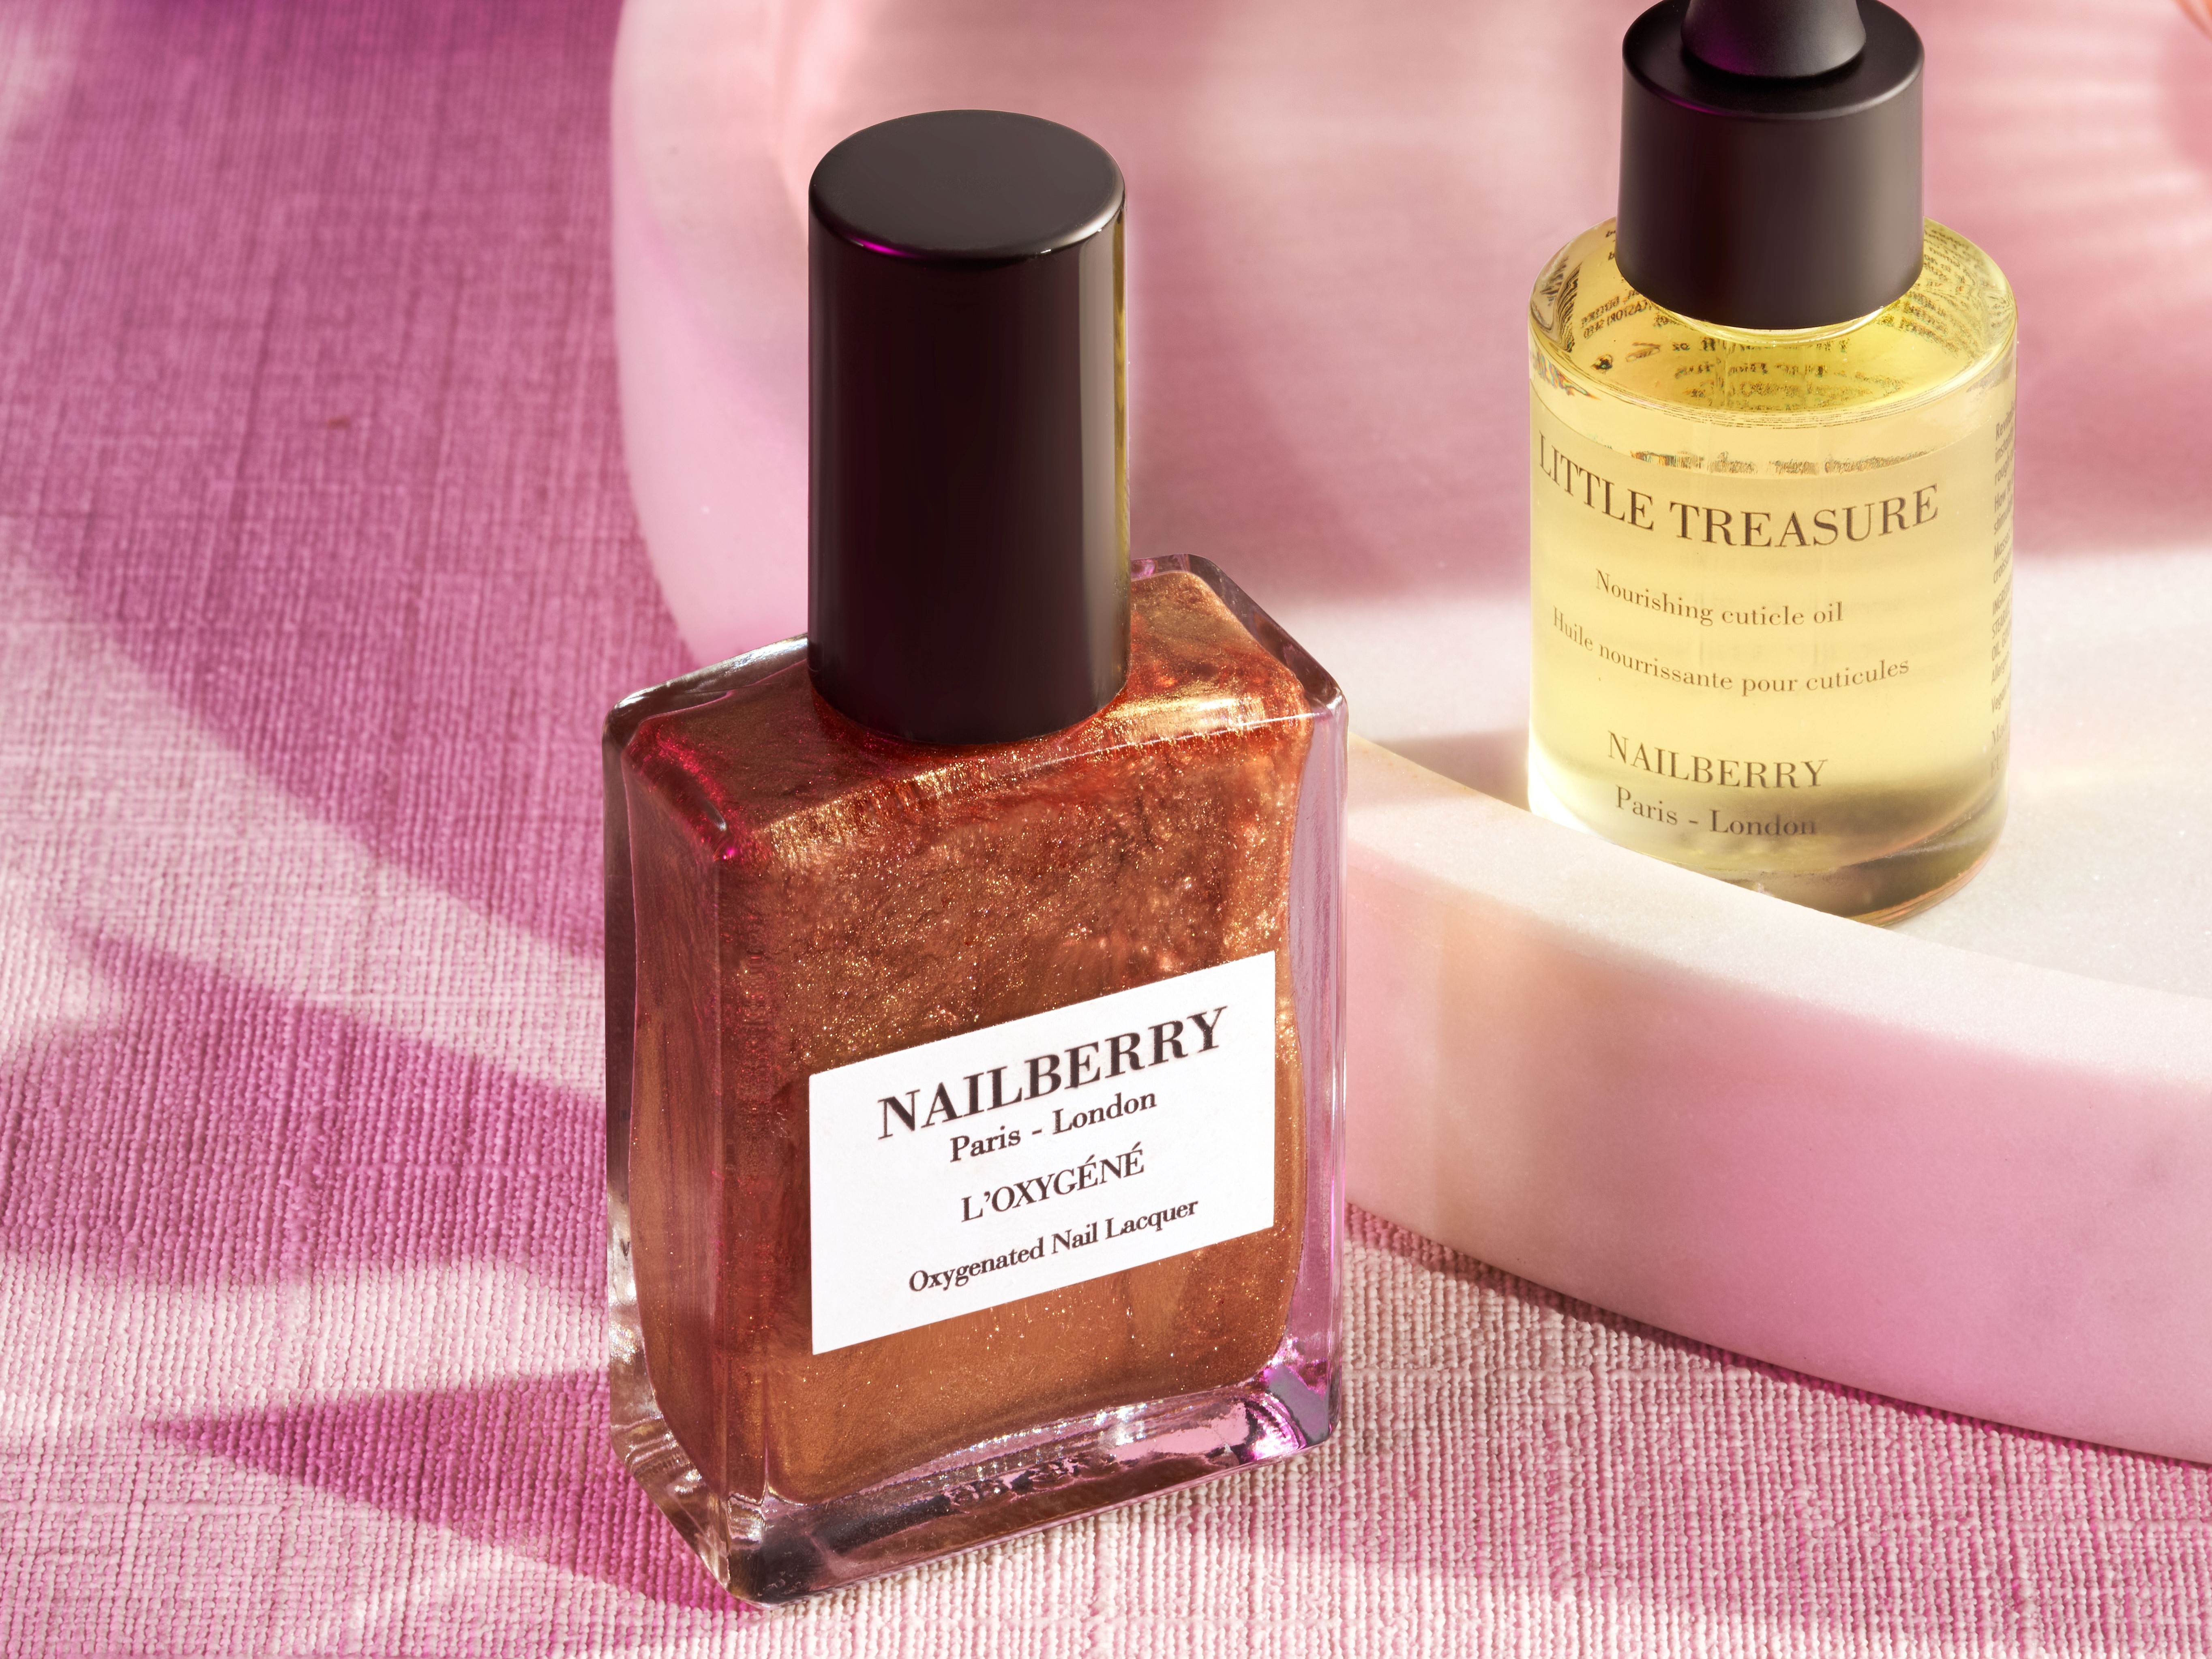
It’s tempting to skip this step but it’s a vital part of nailing your at home manicure. ‘Always use a base coat; this anchors the polish to your nail for longer wear and prevents the pigment from staining, I recommend the Nailberry Strengthen & Breathe Oxygenated Strengthening Base Coat, £19.00,” says Alex. [/copy]Step 5: Paint on your colour
Now it’s time for the best part, painting with polish. Alex recommends the below steps.
1. Sitting at a table with both elbows propped up, and the fingers of whichever hand you're painting folded down and turned towards you, so you can see the entire perimeter of your nails.
2. Place the pinky finger of your painting hand onto the palm of the other to steady yourself.
3. Don't saturate the brush with polish, as this will cause flooding when edging close to the cuticle.
4. If you do get polish on the skin or your lines are a bit wobbly, use a small, flat paintbrush dipped in polish remover to gently tidy up any edges.
5. Aim for two coats of colour and allow each to coat dry before applying the next.
Step 6: Finish with your top coat
Much as a base coat helps with the longevity of your manicure, it’s your top coat that can help to keep you at home manicure chip-free for longer. So, never skip this step and make sure you apply your topcoat only once your colour is dry. “My go-to will forever be the Shine and Breathe from Nailberry,” says Alex. “Keep a bottle of Nailberry Dry and Dash Lacquer Drying Drops, £19.00 to hand if you're on-the-go for an extra speed boost,” he adds.
Tempted to blow on your nails to dry them? No need. “Once your manicure is complete just leave your nails to dry on their own time. Blowing on them doesn’t speed up drying time. Look at your at-home manicure as part of your self-care routine, relax and enjoy it,” says Alex. You should allow at least 20 - 30 minutes to complete your manicure and to let it completely dry. If you're in a rush then opt for a sheer polish, you can often apply less coats, which means quicker drying time and it always looks chic and classic.
Making your at home manicure go the distance
Now that your manicure is looking tip top, you’ll want to keep it that way for as long as possible. To do this, deploy Nailberry Little Treasure Cuticle Oil, £19.00 and apply every other day, along with a Margaret Dabbs London Intensive Hydrating Hand Lotion, £25.00. It’s also wise to avoid harsh stripping agents in soaps and hand gels and this can strip away your colour and dry out your cuticles. Finally, always wear rubber gloves when cleaning and washing up.
Read More
• How do Lip Plumpers Work?• Everything You Need To Know About Skin Cycling • The Best Hair Products for Volume
• The Best Hydrating Face Masks


