How To Shape Your Brows Like A Pro
Wondering how to do your eyebrows well? We called in the experts to answer your most pressing questions.
Should my eyebrows be identical?
“It is almost impossible to have both brows identically matched due to hairs growing differently on each side of your face,” says Chanice Sienna, brow expert and founder of Bambrows. “However, as brow experts we do try to make them as similar as possible to create balance and good structure.” Suzanne Martin, aesthetician and creator of The Couture Brow at the Lanesborough in London, agrees, “Very few faces are symmetrical but by bringing the brows into some alignment we can create the illusion of symmetry.”
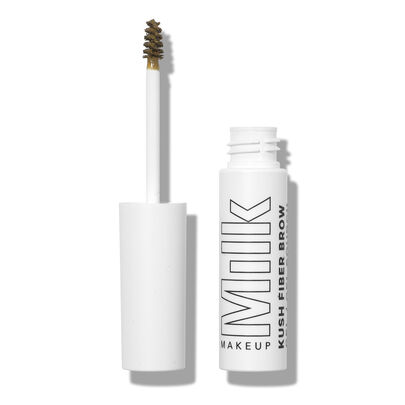
Rather than getting caught up on creating two perfectly identical brows, your time will be better spent investing in the health and condition of the hairs. Like the rest of your hair, the overall appears of your brows really depends on how well you care for them. Incorporate conditioning treatments containing strengthening and conditioning ingredients such as panthenol (found in KOSAS Air Brow - Tinted Volumizing Treatment Gel - Clear, £20.00) and lipids, peptides, and antioxidants (found in RevitaLash Revitabrow Advanced, £115.00) into your daily brow routine.
How can I fill in over plucked brows?
Thanks to the likes of Bella Hadid, Gabbriette Bechtel, and (yes!) Pamela Anderson, the brow pendulum is swinging back towards the thinner variety. Fluffy and dense brows are starting to take a back seat to the slimmer, finer, more defined arch most of us thought we’d left behind in the 2000s. We’re definitely seeing more customers asking for a defined arched brow that is a little more tapered,” says Chanice. “I feel this look can still be done in a natural way without taking too much hair away from the brow. You can definitely create a thinner brow look with makeup also, this allows you to have a brow that is on trend without actually committing to a thinner brow.”
As trends go, this is certainly one to approach with caution. If you have been too heavy handed with the tweezers, a conditioning brow treatment will put you back on the path to recovery. In the meantime, makeup can cheat the impression of thicker brows. “A powder can work well to add some definition back into the brow, but my personal favourite is a pencil. I like to get it nice and sharp and without using too much pressure add little hair strokes to the skin, gradually building up the shape and colour,” says Suzanne.
What shape eyebrow will suit me?
If you’re wondering how to shape eyebrows, read on. “A perfect brow should lift and balance, but more than that it enhances the expression in the eyes, making you look rested and happy,” says Suzanne. While the thickness and fullness of your brows are very much up to taste, Suzanne suggests guidelines for the shape to help achieve balance. “The arch of your brow should be positioning a third of the way along. The tail should never be lower than the bulb (or the beginning of the brow), it should be equal or slightly higher – always!” And if you have noticed your brow starting to droop, Chanice suggests, “If a client is noticing signs of ageing, we always add a little more structure to the tail of the brow and create a little more arch. This will lift your face slightly.”
Understanding what your brows look like on your face is crucial before making any big changes to them. We spend much of our time on Zoom these days which presents an opportunity for brow scrutiny, but Suzanne also suggests taking plenty of selfies at different angles. Knowing where your brows are perhaps letting you down a little will show you what needs to be adjusted.
Should I go lighter or darker than my natural brows?
The colour of your brows depends on one thing and one thing only, what you like. Taking inspiration from your natural hair colouring will give you the most natural affect (though it doesn’t have to be identical) and anything outside of that is a matter of taste. “You don’t have to match the colour of your hair exactly and it is often flattering to have a darker brow. Sticking to the same tone is important though. For example, a cool hair colour should always have a cooler shade and a warm hair colour a warmer tone,” recommends Suzanne.
Chanice also adopts a more natural approach to shade at Bambrows, “We prefer a more natural tint to enhance the brow shape rather than a blocky, harsh colour. Contrasted brows and bleached brows are a cool trend that can definitely work for some customers if it goes with their overall look.”
What are the best products to shape my brows?
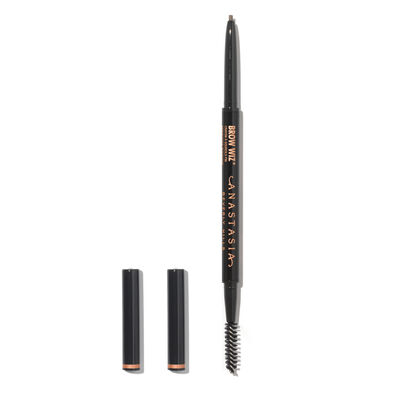
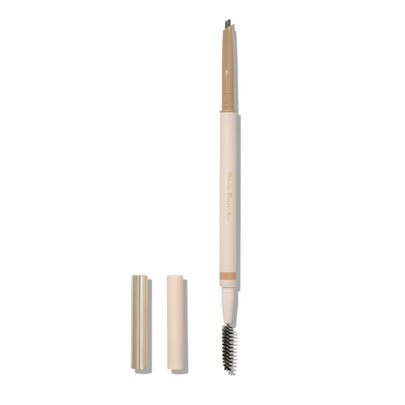
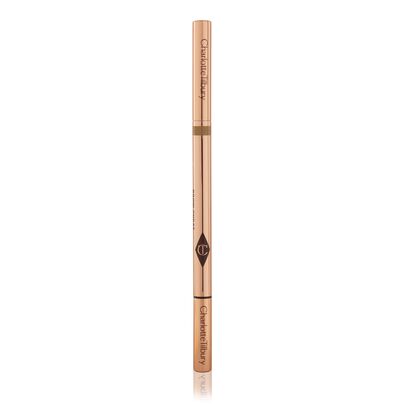
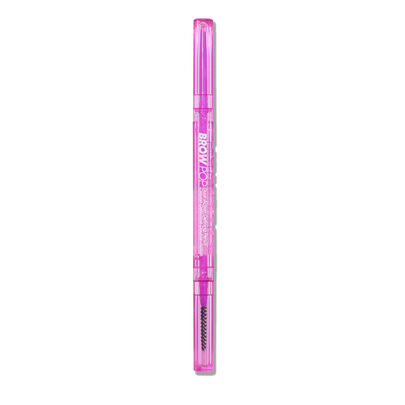
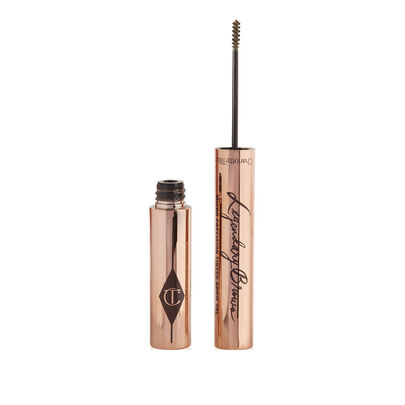
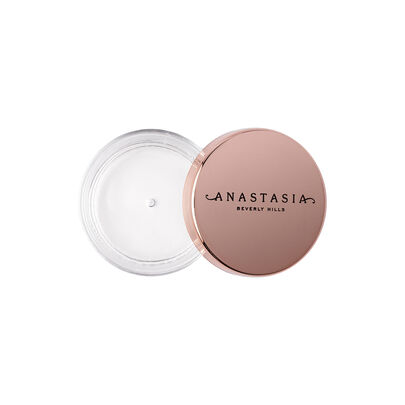
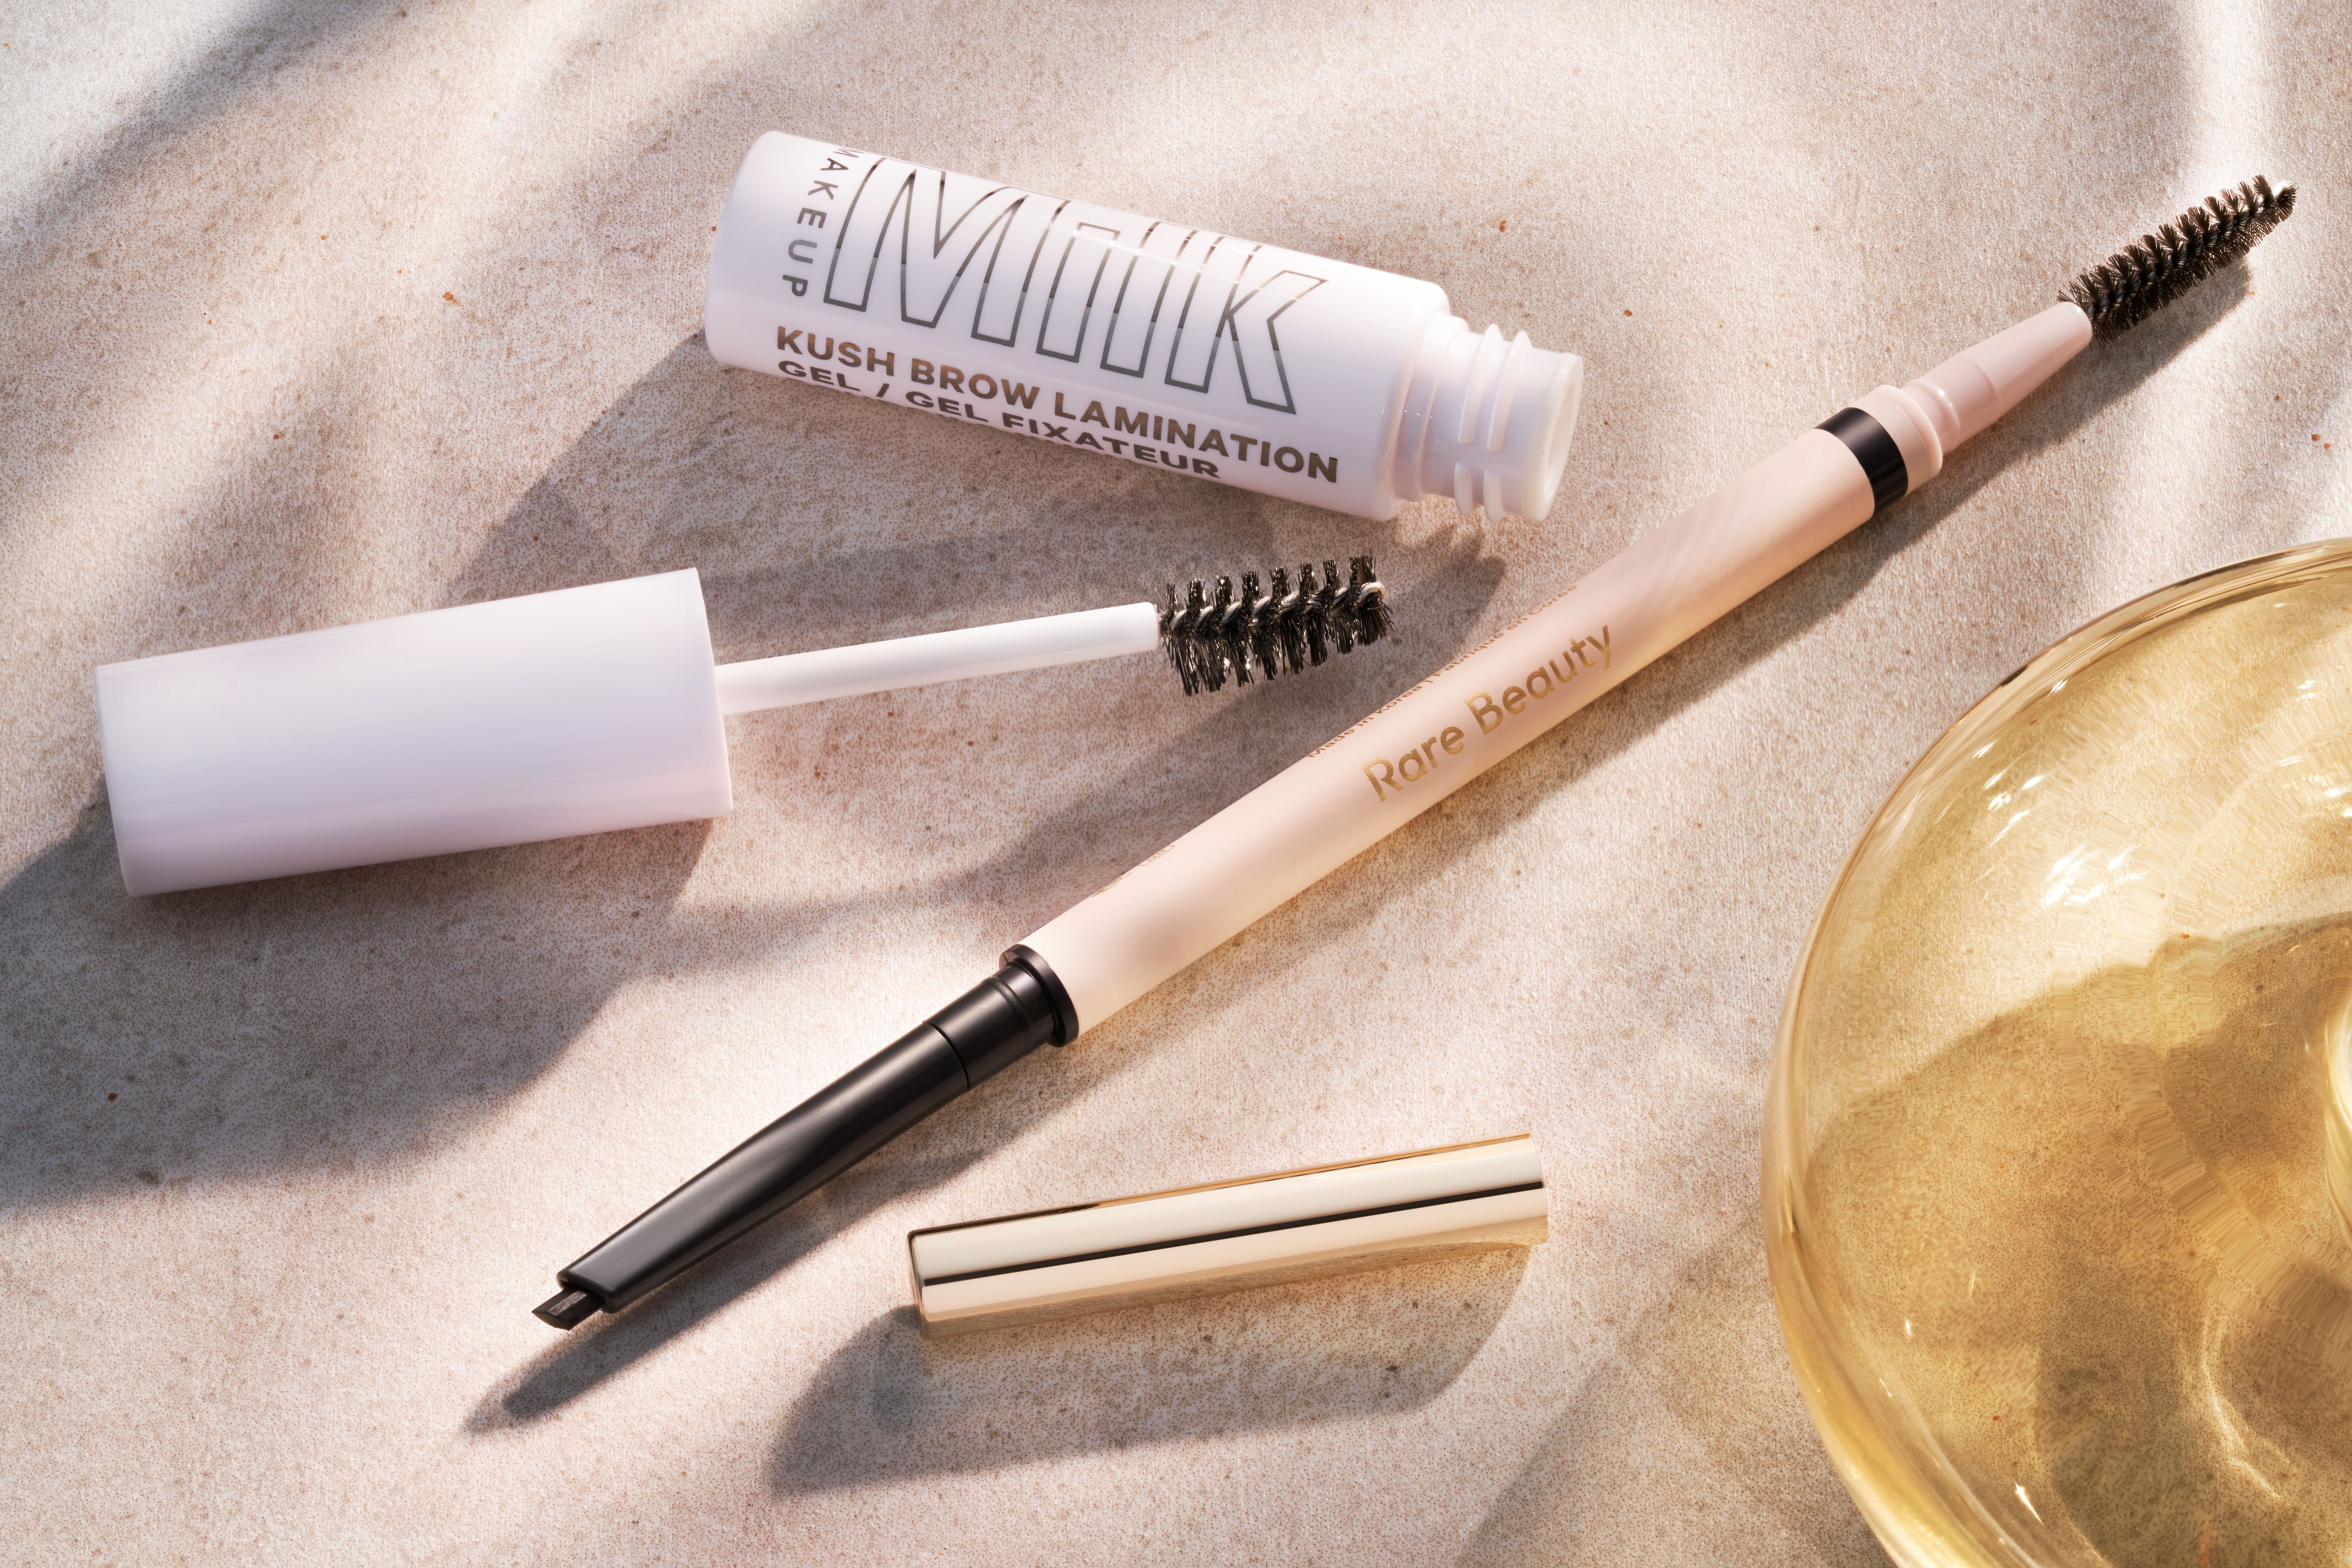
With so many brow products at our disposal it can be tricky to know what to use, Chanice simplifies the task, “The best thing to create a full brow is eyebrow gel, a “super strong” hold one. The technique I recommend is combing the product into the brow in the direction of hair growth and then against the hair. This creates more texture in the brow; allowing the hairs to look fuller and thicker. Anastasia Beverly Hills Brow Freeze - Extreme Hold Laminated-Look Sculpting Wax, £13.00 has a great hold for this. For a more defined brow, or a brow in need of padding out, Chanice recommends, “A super fine crayon style pencil will allow you to create thin stokes of hair. This is great for giving the illusion of more hair.”
Final word on eyebrow shaping at home
A look at Google reveals that many of us have lingering questions about our brows. We want to know how to shape eyebrows, how to laminate eyebrows, and, how to master eyebrow shaping at home. And while there is a lot we can do from the comfort of our own bathrooms, such as tinting, and adjusting the shape, Suzanne says, “You should leave the more advanced treatments to the professionals.”
Chanice agrees, “We don’t recommend laminating your brows yourself as many of the products on the market are super damaging and make the hair more difficult to re-grow. Tinting is something you can do at home but take it slow to build up your confidence – we have a video on our Instagram showing you how to do it. As for tweezing, only take away the unnecessary hair, anything that will greatly alter the shape should be left for the experts.”
Read More
• Best BB and CC Creams• What is Mascara Cocktailing? • The Best Foundations for All Skin Types
• The Best Cream Blushes


