
Underpainting: The Makeup Hack Experts Swear By

This technique has become so popular because it works perfectly for those who like to keep their makeup natural, but you can dial it up for a bold, glam look. It’s worth noting that underpainting also photographs really well, which is incredibly helpful for those attending a lot of events at this time of the year.
What is Underpainting Makeup?
The “underpainting makeup” technique was first mentioned by makeup artist Kevyn Aucoin in his book Making Faces. "Makeup artists use and have used this as a technique to create shape and dimension for catwalks, theatre performances and so much more! Saying that, makeup artists from back in the day are now giving away all the tips and tricks from backstage" says makeup artist Dayna Kellman.
The method is all about applying your contour to sculpt and define your face before your concealer and foundation. The result? Your makeup is a lot more seamless while still being quite sculpted and defined. "Underpainting is there for bring out features from your current facial structure - the results should be clean, flawless and your natural self enhanced", says Dayna.
It’s perfect for those who want a subtly sculpted finish. Mary Phillips shared her everyday makeup routine back in January and revealed that she also likes to use this method when doing Hailey Bieber’s and Kendall Jenner’s makeup.
How to do Underpainting Makeup
Step 1: Start with a primer
If you’ve watched Mary Phillips’ video, you might have noticed she doesn’t use a primer. When it comes to day-to-day, you can skip this step but if you’re going for a bolder look that you want to see last, we’d recommend starting off with a primer. A favourite is the Milk Makeup Hydro Grip Primer, £14.40 to really lock your makeup in when you apply it.


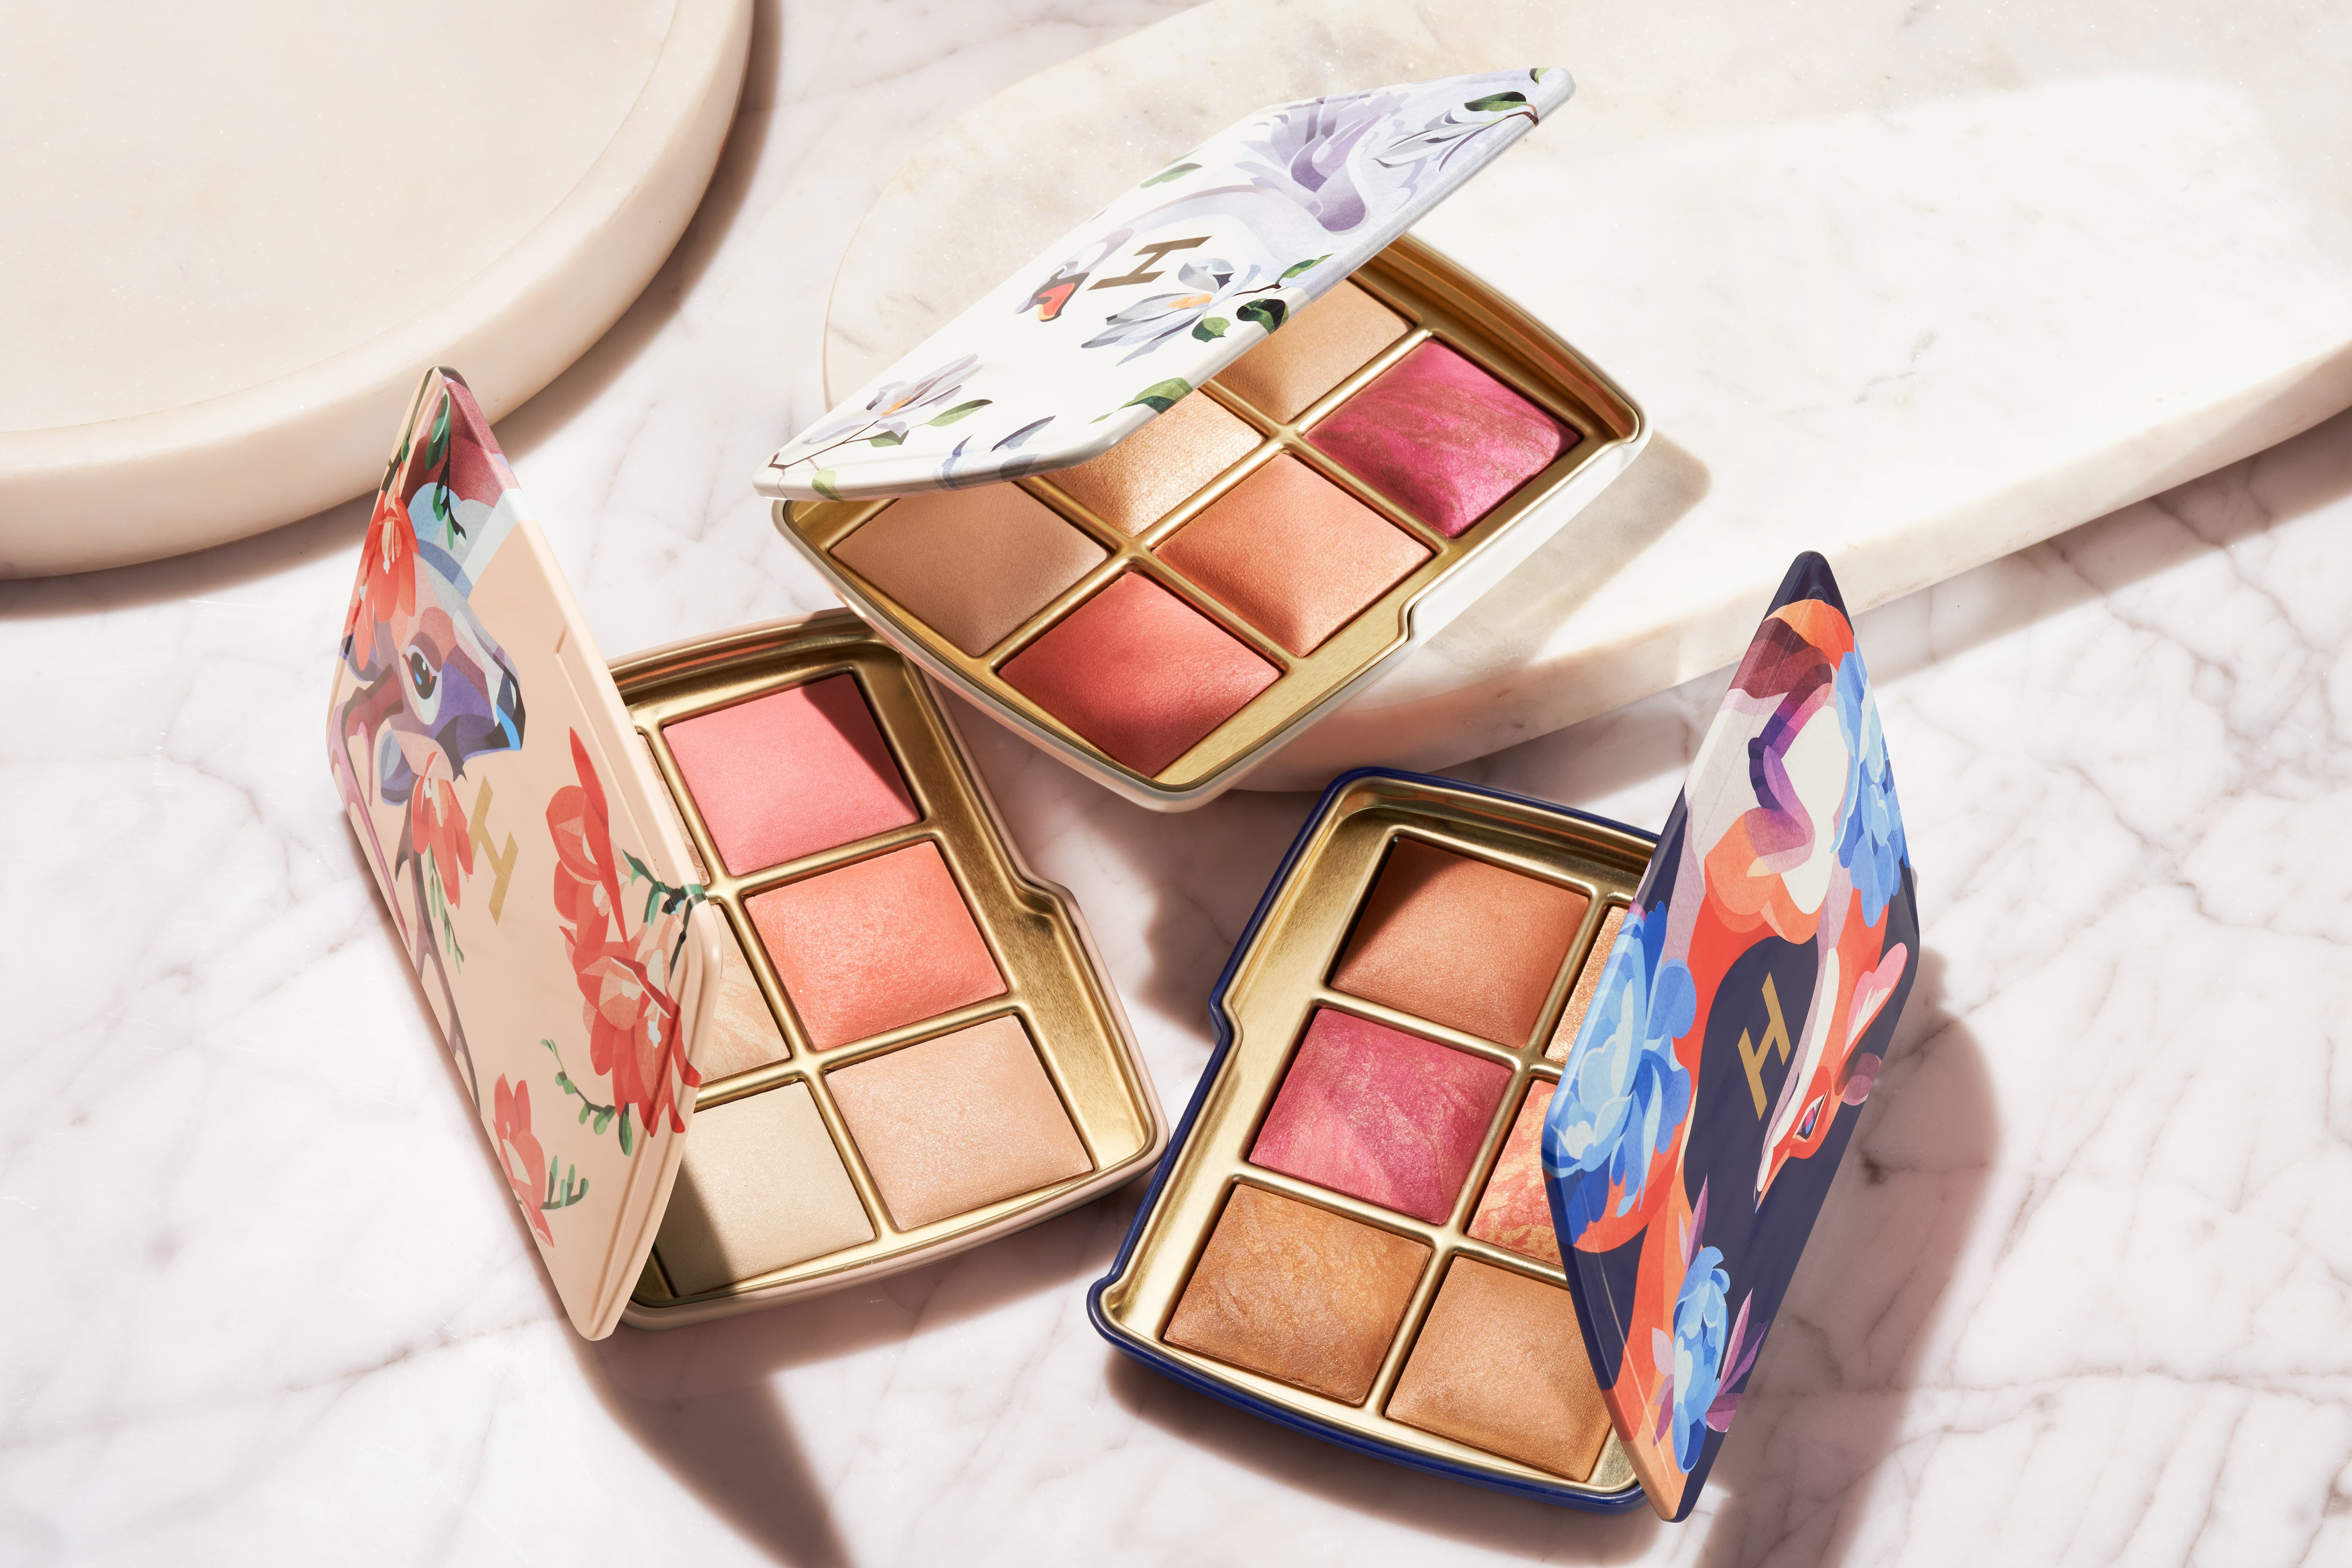
Step 2: Apply your contour and cream blusher
To start of your complexion, grab your favourite contour stick or cream contour to define your face. Mary Phillips applies her contour just below her cheekbones, around her hairline and along her jawline. The key is to apply a light layer and to use a brush to really buff the formula into your skin for a seamless finish. We love the Charlotte Tilbury Hollywood Contour Wand, £24.00 for this step.
Next up, apply your cream blush, or you can wait to use it over your foundation, based on the look you’d like to achieve. For a soft, natural flush, we lean towards Milk Makeup Lip + Cheek, £22.00 or the Multi-Stick from ILIA.


Step 3: Apply your concealer and foundation
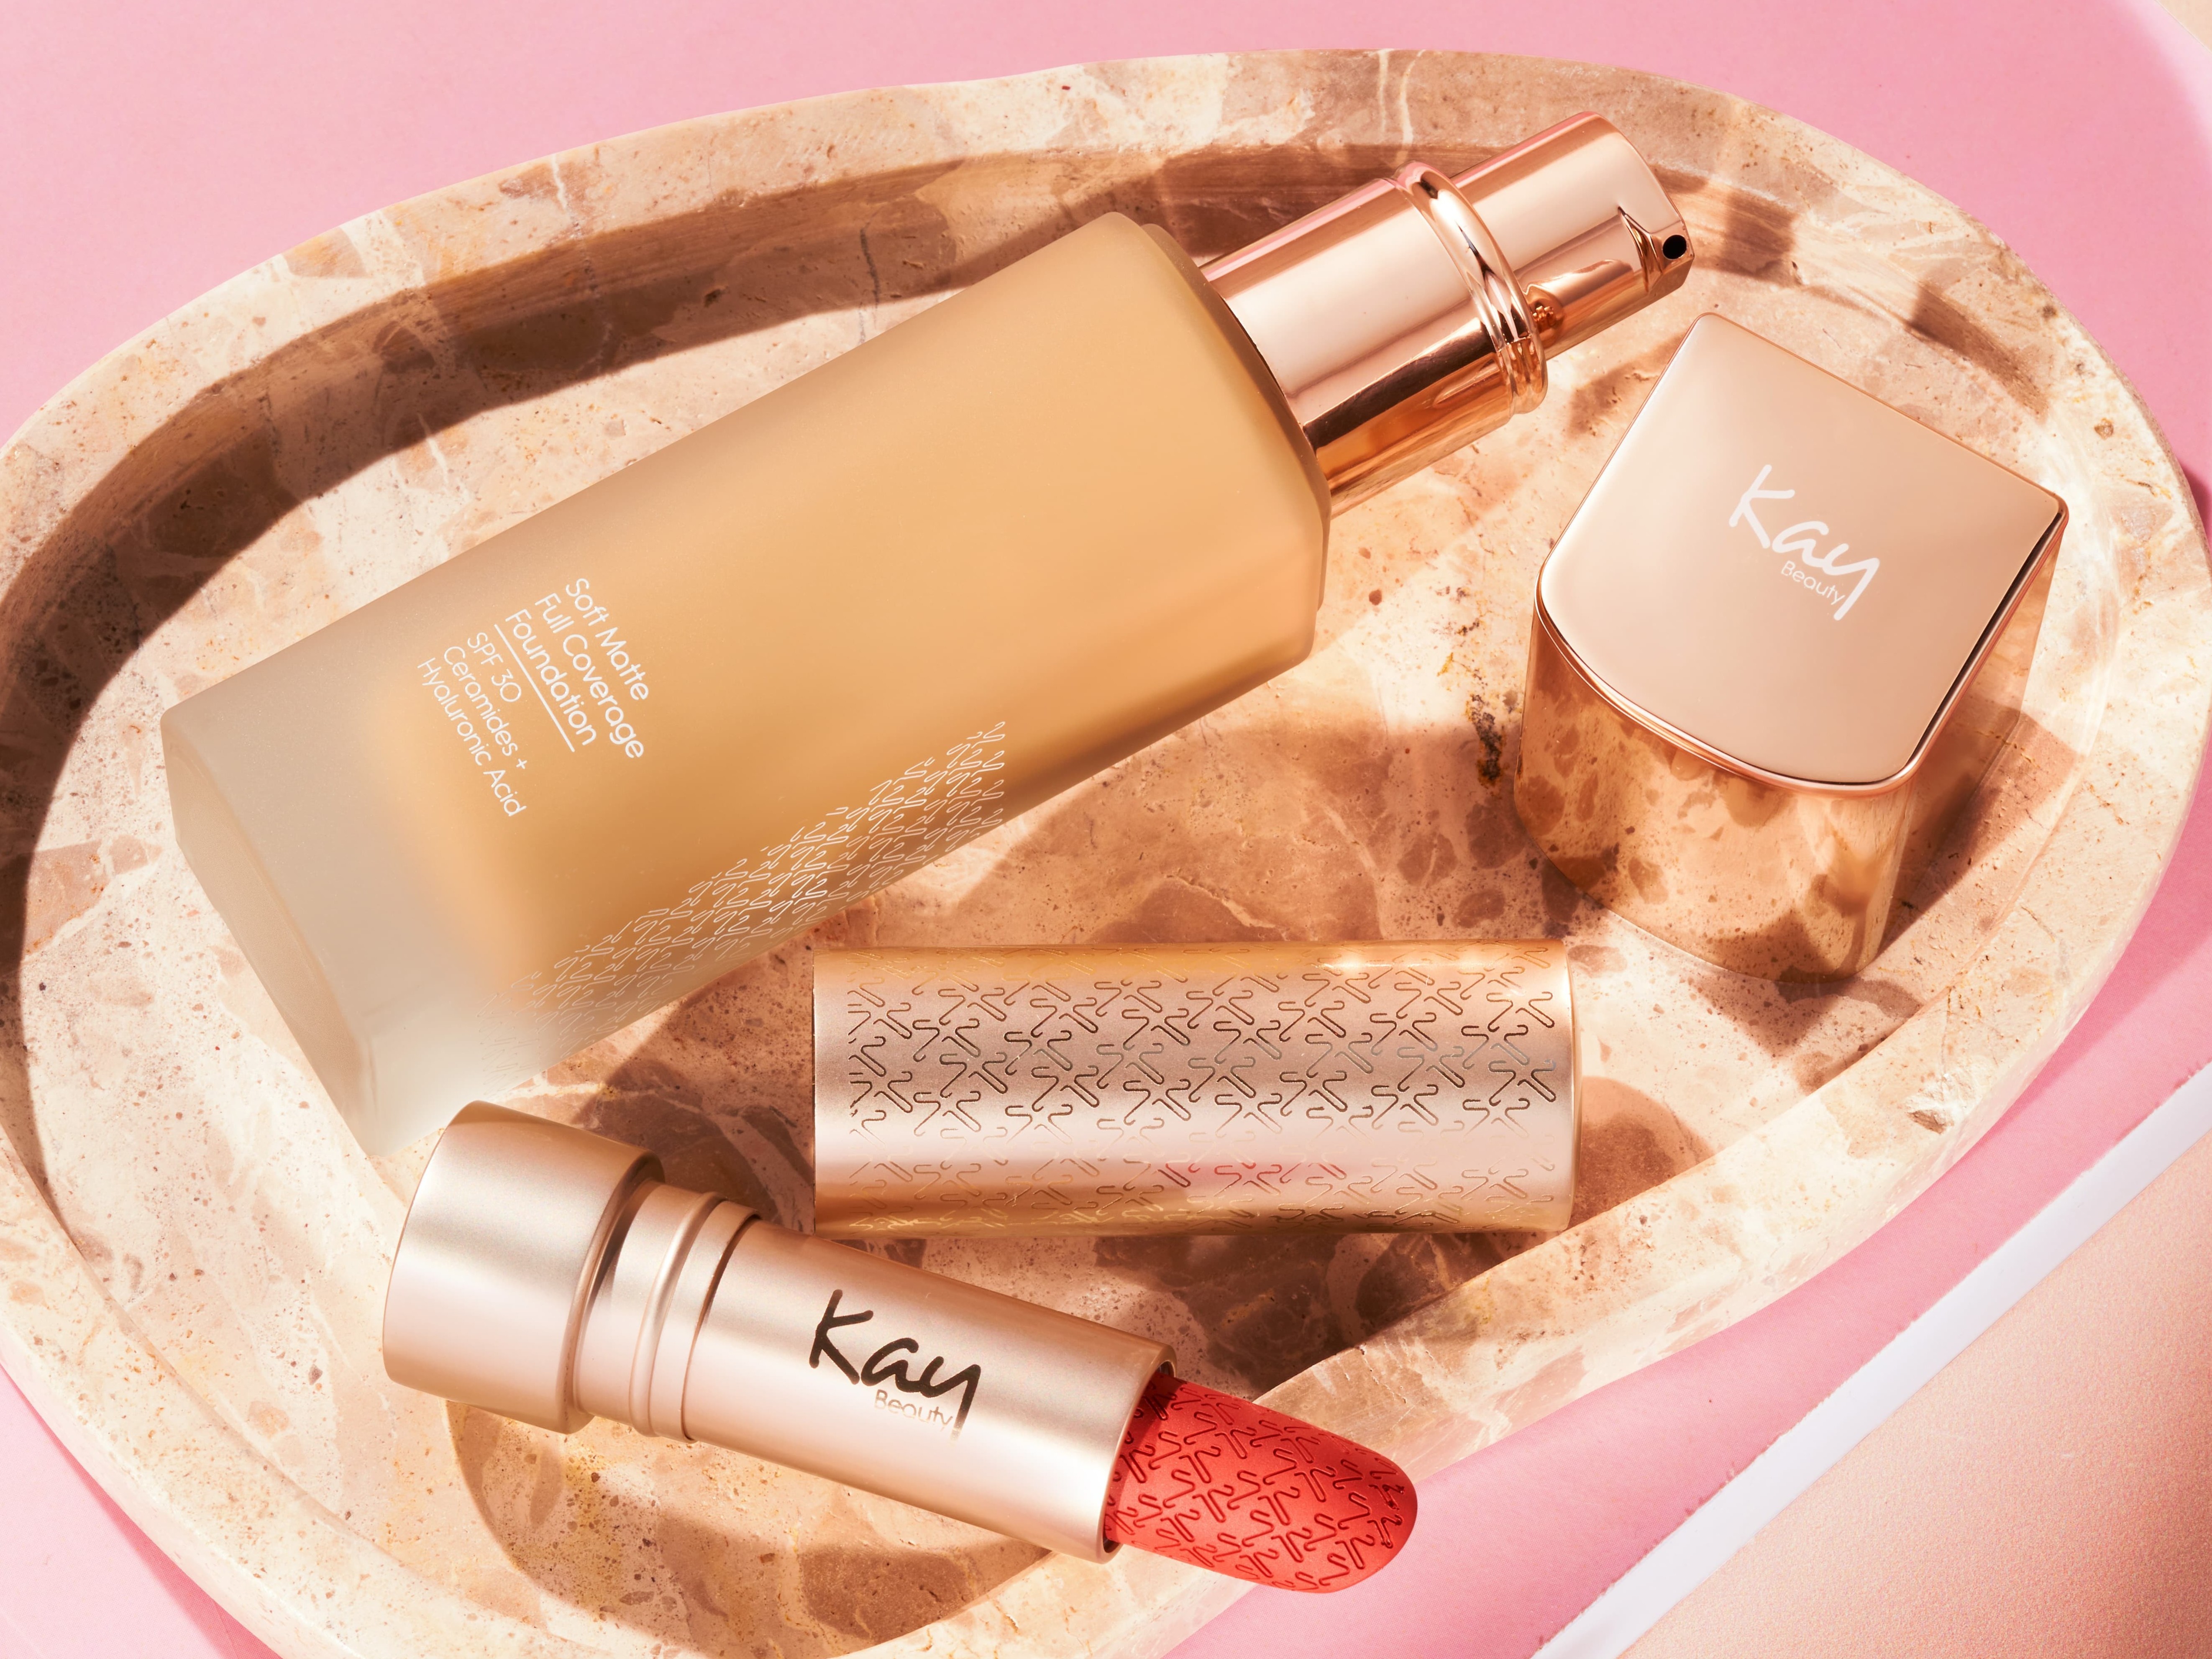
Only now should you reach for your foundation and concealer, and it’s essential to keep it light. Apply a fine layer of concealer under your eyes and below your cheekbones (underneath your contour) for added definition. For this, we love VIEVE Modern Radiance Concealer, £22.40 or Nars Radiant Creamy Concealer, £23.60.
You can leave stop there but if you’d like more coverage, apply a light layer of foundation with a fluffy brush like the Space NK 101 Powder brush. The goal is to seamlessly blend all the different products and texture together, the new Rose Inc Softlight Skin-smoothing Liquid Foundation, £16.80 or Ilia Beauty Super Serum Skin Tint SPF 30, £33.60 works perfectly for this. Everyone has different needs when it comes to coverage, so you can always add more where needed.


Step 4: Apply your powder products
If you want to channel a bolder, more glam look, this is the step where you apply your powdered product (if you prefer a more minimal makeup step, you can skip this step). Start off with a powder contour or a cream, powder or stick bronzer to add more definition and warmth to your skin - . You can follow up with your favourite blusher, the is always a safe bet in our opinion.

Step 5: Set your makeup to make it last
To finish off your underpainting technique, make sure you set to keep it from creasing and coming off throughout the evening. Start by setting it with your favourite setting powder – we love Laura Mercier Translucent Loose Setting Powder, £30.80 – and then for extra staying power, you can follow up with a setting spray. We’re big fans of both Milk Hydrogrip Setting Spray and Charlotte Tilbury Airbrush Flawless Setting Spray, £25.60 to keep your makeup looking fresh and making it last.
The Last Word on the Underpainting Makeup Technique
If you're looking to try out this technique for your upcoming end of the year events, Dayna's word of advice is to "take your time. If you're in a rush, you’ll be able to see it! Also in particular for this, products are adaptable. You can use powders all over the face to perfect the look you aim to achieve. Any cream blush could work for the lips, or and bronzer can work as a perfect crease colour!"
And just like any other makeup look or trend, remember to adapt the makeup to your face and usual style. "Everyone’s face structure is completely different to another. You as the artist, need to make sure you mentally measure a face and know what you want to be your main focus feature and how to subtlety adjust what you do not want to feature" adds Dayna.
Read More
• Six Makeup Essentials To Tap Into The Soft Glam Trend• How to Tap Into the Latte Makeup Trend • Is Cream Bronzer Better than Powder?
• What is Mascara Cocktailing? • The Best Cream Blushes